
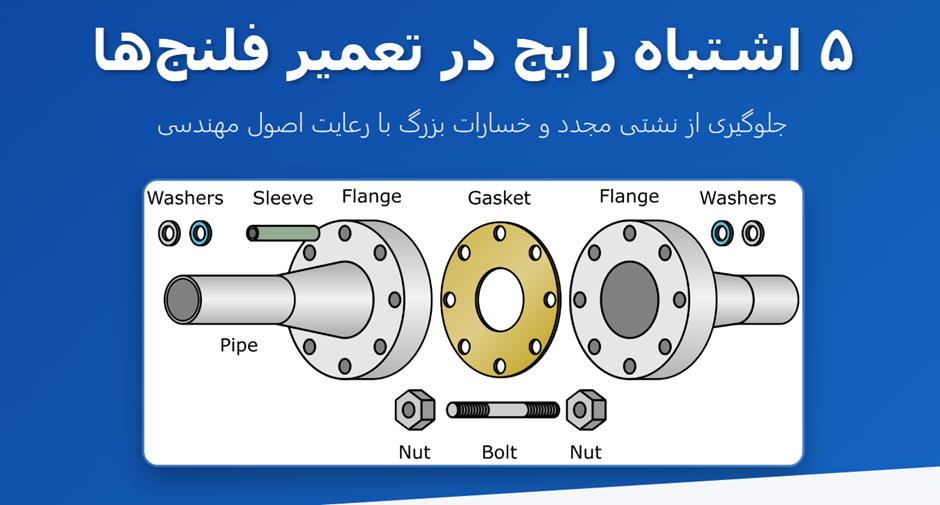
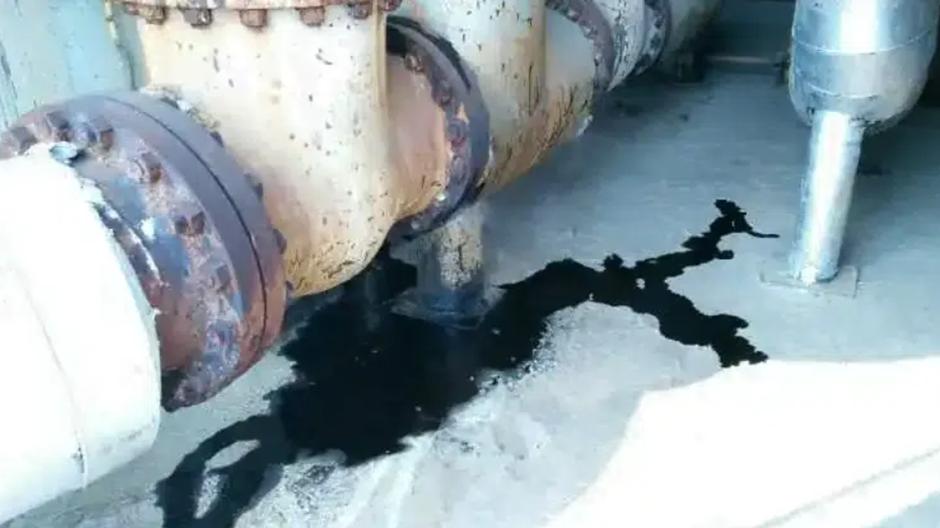
Imagine your maintenance team has been working non-stop for 24 hours on a heat exchanger. Everything has gone according to plan, but exactly two hours after startup, the alarm sounds. Leakage! Again! This time the problem is not the gasket material or the metal quality; the problem lies in the “method of execution”.
In the process of flange repair, there are details that may seem insignificant at first glance, but ignoring them is, according to the American Society of Mechanical Engineers (ASME), the cause of 70% of premature failures in bolted connections. In this article, we put the magnifying glass on 5 execution errors that technicians unintentionally commit.
First Point: Rough Cleaning with Sharp Tools!
The first stage in flange repair is removing the old burnt gasket. Where is the common mistake? Using sharp steel scrapers, sandpaper, or even coarse wire wheels to scrape off gasket residue.
To speed up the work, the technician inadvertently creates deep scratches on the sealing grooves (Serrated Face). These scratches create microscopic paths for fluid to escape that no gasket is capable of filling.
Correct Method:
One must use brass tools (Brass Tools) which are softer than the flange steel, or specific chemical solvents.
Suggested reading: Why does flange leakage continue even after gasket replacement? (Technical Review + Final Solution)
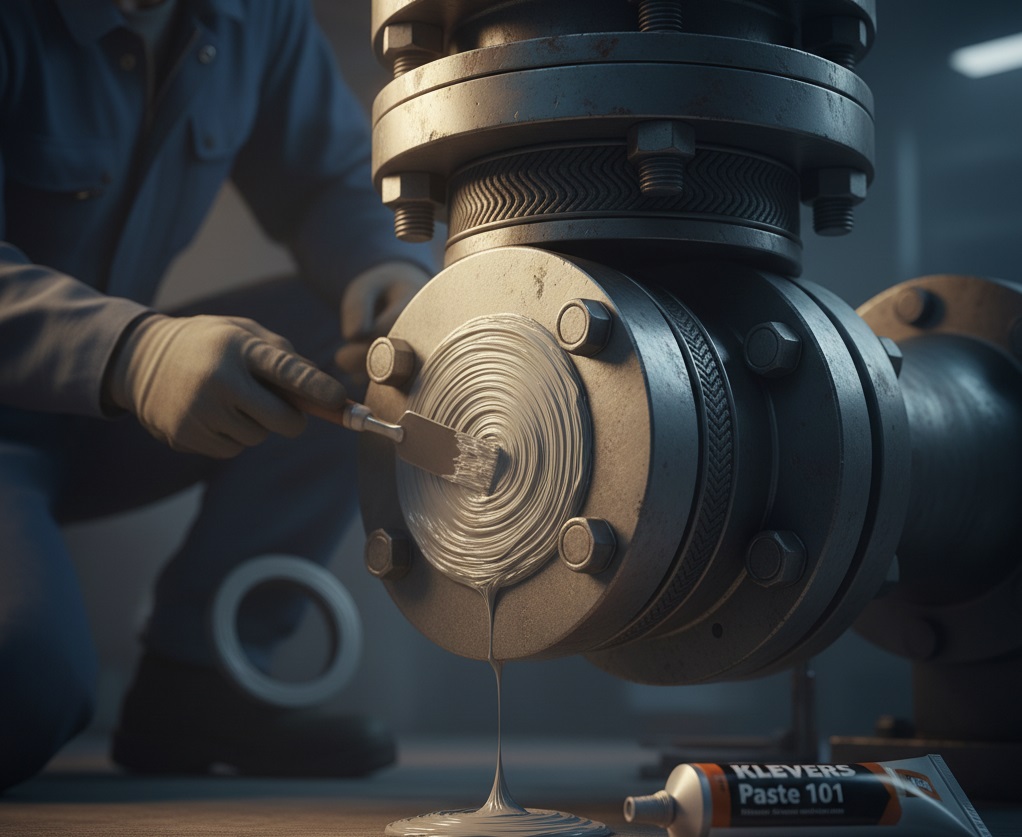
Effective Solution for Scratched Surfaces
If the damage is done and the flange surface has been damaged due to incorrect cleaning, there is no need to replace the entire flange. Using a thin layer of two-component high-heat adhesive (Klevers Paste) before placing the gasket can fill the created scratches and “level” the surface. This paste acts as a “resurfacer” and covers human error in the cleaning stage.
2. The Secret of “Friction Coefficient”: Why Do You Tighten Bolts Dry?
Many maintenance teams assume that if a bolt isn’t rusty, it doesn’t need lubrication. This is a major calculation error in flange repair.
When you tighten a nut onto a dry bolt, about 50% to 80% of the torque you apply is spent overcoming the friction of the threads, and only a small part of it goes into compressing the gasket (Clamp Load).
Result? The torque wrench (torque meter) shows the correct number, but the gasket is still loose!
Professional Tip: Using nickel or molybdenum-based lubricants (Anti-Seize) is essential. If the bolts are in vibrating environments and you are worried about them loosening, we suggest using thick refractory fabrics as damping or shock absorbers in the supports connected to the flange alongside lubrication, so that vibration is not transferred to the bolts.
3. Common Mistake “Impact Tightening” (The One-Pass Error)
The technician is in a hurry and wants to finish the job. He sets the torque wrench to the final number and tightens the bolts one by one to the end. This is a disaster!
When you tighten the first bolt to 100%, the flange warps and the gasket is crushed at that point and lifts at the opposite point.
ASME 3-Stage Rule:
In the standard flange repair process, you must tighten the bolts in at least three stages:
- Stage 1: 30% of final torque (using a star pattern).
- Stage 2: 60% of final torque.
- Stage 3: 100% of final torque.
4. Reusing “Tired” Bolts
Bolts and stud bolts are very stiff springs. When you tighten them, they stretch. If a bolt has been stretched too much in previous repairs (passed the Yield Point), it has lost its spring property.
Reusing these bolts in flange repair means accepting the risk of leakage. Because these bolts can no longer keep the gasket “alive”.
Recommendation: Always budget for replacing bolts and nuts in major overhauls.
5. Forgetting “Hot Bolting”
This is a mistake that usually reveals itself 24 hours after repair. Gaskets (especially non-asbestos and PTFE types) lose some of their thickness after heating and being under pressure (Creep Relaxation).
If the maintenance team does not recheck the torque after the line reaches operating temperature (a process called Hot Torquing), the connection will loosen.
A Smart Solution to Reduce Risk
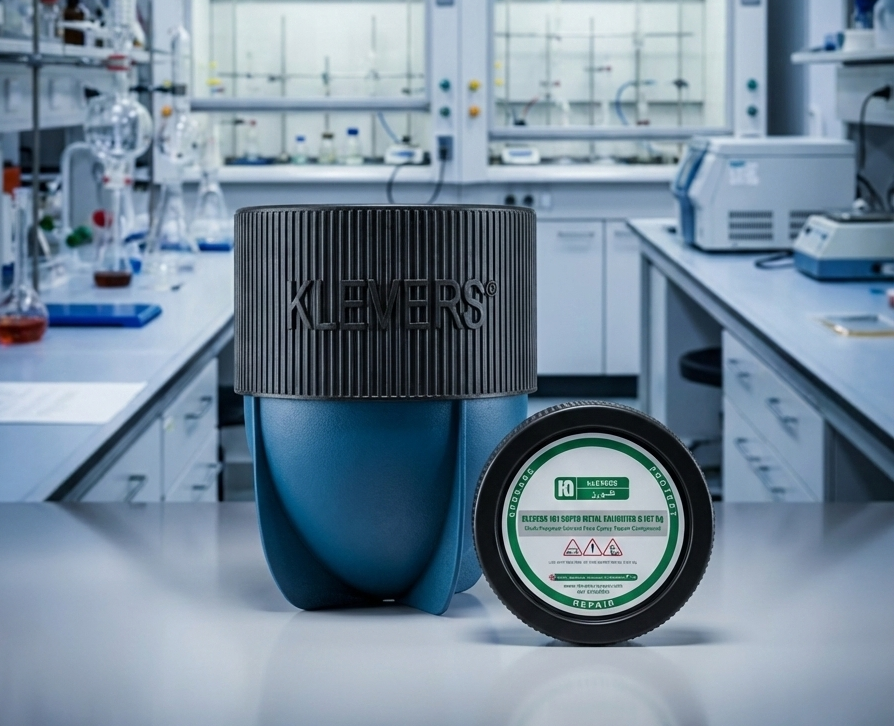
Performing “Hot Bolting” is not always safe or possible. In such conditions, using a material with high adhesion that maintains its structure with temperature changes is vital.
The product Klevers Paste 101 proves its worth exactly here. Even if the main gasket suffers a slight loss of thickness, this paste prevents micro-leaks in the created gap due to its high molecular adhesion to the metal. This product is a low-cost “insurance policy” for potential errors in the bolting process.
Conclusion: Flange Repair is Not Brute Force!
Flange repair requires adhering to precise engineering protocols more than brute force. From surface cleaning to bolt lubrication and observing the tightening pattern, all are links in a chain. The breaking of any link equals production line stoppage.
If you are facing recurring challenges in sealing, get help from the experts in this field at the knowledge-based company Klevers Aryana.
Klevers Aryana; Engineering Reliability in Industry
At Klevers Aryana, we are not just sellers; we are your technical consultants in production lines. With a complete portfolio of industrial adhesives, refractory products, and expansion joints, as well as advanced thermal insulation, we help you minimize downtime.
Are you facing leakage challenges in your repair projects? Contact our engineering team now to receive technical instructions and prepare Klevers Adhesive.
Direct Contact with Technical and Sales Unit
References
- Gasket Resources Inc (GRI): Top 5 Causes of Gasket Failure. (Source for operational errors).
- ASME PCC-1: Guidelines for Pressure Boundary Bolted Flange Joint Assembly (Appendix F: Tightening Sequence).
- Sealing Sense Article (Pump & Systems): The importance of Lubrication in Bolted Joints.
- KLEVERS Aryana Technical Dept: Case Studies on High-Temp Sealing Solutions.